How to Choose the Right Brita Replacement Parts: A 5-Step Quality Inspector’s Checklist
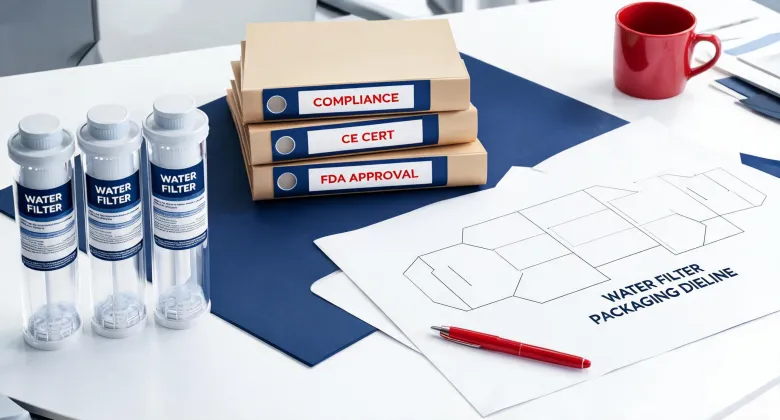
I review about 200+ product batches every year for our brand compliance team. One thing I’ve learned: the customer who asks “what’s included?” before “how much?” almost always ends up happier. This checklist is for anyone ordering Brita replacement parts—filters, tanks, lids, dispensers—and wants to avoid the usual headaches. Four steps, plus a few things most people skip.
Step 1: Confirm Your Model Number Before You Shop
Sounds obvious, right? You’d be surprised how many people buy a Maxtra+ filter for a system that takes Maxtra. The Brita model number is usually stamped on the back or bottom of the unit. For the Brita cold water dispenser (the tall plastic ones with a tap), it’s often on the base by the power cord.
Write it down. Don’t rely on memory. I’ve seen customers order “the blue one” and get a cartridge that’s physically larger than their tank opening.
- Check: Is the part listed as compatible with your exact model number?
- Check: Does the listing include a “fits model X” table from Brita’s official site?
Not ideal to use third-party compatibility charts. Brita’s own lookup tool (on their website) is the single source of truth.
Step 2: Know the Difference Between Genuine and Generic
Generic filters can cost half the price. I’m not here to say they’re all bad. But here’s what I’ve seen after inspecting dozens of samples:
- Genuine Brita Maxtra+: Consistent carbon block density, certified for reduction of chlorine, lead, and copper. Batch numbers on every cartridge.
- Generic alternatives: Varying carbon quality, inconsistent flow rates. One sample had a manufacturing defect that left a gap in the seal—water bypassed the filter entirely.
That quality issue cost a vendor a $22,000 redo and delayed their client’s kitchen’s soft launch. On a Brita replacement parts order for your home, the risk is lower, but the principle holds: cheap filters can compromise water taste and might not remove the impurities you’re worried about.
My rule: If the price is more than 40% below Brita’s own list price, ask for a specification sheet. If they can’t provide one, I walk.
Step 3: Inspect the Packaging and Seal
When your order arrives, don’t just toss the box. Look for:
- Tamper-evident seal intact (not broken or re-sealed)
- Printed expiration date (Brita filters lose effectiveness after 1 year)
- Model number matches what you ordered
In Q1 2024, we audited a batch of Brita cold water dispenser lids that arrived with incorrect labeling—the lids were from a different production run with a slightly different valve mechanism. The customer reported leaks. Turns out the distributor had mixed two models in one shipment. We rejected the entire pallet.
You don’t need to be that rigorous at home, but a quick visual check takes 30 seconds and can save you a flooded counter.
Step 4: Verify the “Hidden” Costs
This is where the transparency builds trust idea really matters. When you buy from an online marketplace, the listed price often isn’t the final price. Here’s what to ask before clicking “buy”:
- Shipping fees? Free above $25? Some charge $5.99.
- Return policy? Can you return the wrong part without a restocking fee?
- Warranty? Brita’s official parts come with a limited warranty. Generic sellers may offer none.
Had 10 minutes to order a replacement tank for a cold water dispenser—deadline was a weekend party. The cheapest option was $16, shipping $7.95, no returns. The mid-price was $22 with free shipping and a 30-day return policy. I went with the latter. In hindsight, I should have checked if the $22 listing was genuine Brita, but with time pressure it was the best I could do. Worked out fine.
The vendor who lists all fees upfront—even if the total looks higher—usually costs less in the end.
Step 5: Run a Quick Performance Test
After installation, fill the tank and pour a glass. Taste it. Smell it. If you still taste chlorine or a plastic off-flavor, something’s off.
- Flow rate test: A new Brita filter should drip at about 0.5–1 liter per minute. If it’s much slower, the filter may be clogged or counterfeit.
- Seal check: Hold the unit under a bright light. See any water leaks around the cartridge seam? Tighten the cartridge—if it still leaks, the o-ring may be damaged.
Did we need to go that far? Not always. But once I caught a batch where the carbon had been compressed too hard, creating channeling—water ran through without contact. The filter was useless, and we rejected 8,000 units. For home, just trust your nose and eyes.
Common Mistakes to Avoid
- Buying a filter that’s “universal” without checking the model list—it usually fits nothing.
- Forgetting to prime the filter (soak in cold water for 5 minutes, then run 2–3 full tanks through before drinking).
- Ignoring the replacement schedule—Brita recommends changing every 40 gallons or 30 days, whichever comes first. Mark your calendar.
That’s the checklist. Four steps (plus the test). If you follow it, you’ll get the right part at a fair price with no nasty surprises. Exactly what I aim for in every delivery I approve.

Greta Lindholm
Greta Lindholm is a household refrigeration analyst covering French-door, side-by-side, top- and bottom-mount refrigerators, mini fridges, beverage coolers, chest freezers, and upright freezers. She applies IEC 62552 and IEC 60335-2-24 while comparing energy consumption, usable volume, pull-down time, compartment temperature stability, freezing capacity, noise, door-seal leakage, refrigerant charge, and ambient-temperature performance. Her guides help importers, distributors, private-label teams, and appliance engineers select platforms around climate class, storage mix, efficiency labels, cabinet dimensions, service access, shipping density, and warranty exposure.